Build Your Academic Website This Afternoon
Your research is only as visible as your profile. That is the short version of a talk I gave recently at the AI V&V Lab on building an academic profile for senior PhD students and postdocs. This post combines the argument from that talk AND a follow-along tutorial that we will do next week, so by the time you finish reading you can have your own site live at yourusername.github.io. A more detailed tutorial slide is available here.
I am going to assume three things. You have a GitHub account, or are willing to create one. You have ten minutes to install Git if you have not already. And you are comfortable copying commands into a terminal even if you have never used one seriously before. If those three are true, what follows should take you about an afternoon.
Why personal profile
Admissions committees, hiring chairs, journal editors, and funding panel members search for you before they meet you. That is not cynical, that is logistics. When someone is looking at thirty candidates or fifty submissions, the search bar is how they narrow the field. Whoever shows up with a coherent findable profile gets read. Whoever does not, gets skipped.
There are three reasons I care about this beyond the obvious career gate.
The first is that collaboration finds you when your work is findable. The graduate students who email me about joining the lab, the speakers I invite to seminars, the reviewers I trust for journal handling — I find almost all of them through Google Scholar, their personal sites, or their talks on YouTube. If I cannot find you in a search, I cannot invite you.
The second is that a findable body of work compounds. One paper on your site is a paper. Ten papers plus tools plus talks plus datasets, cross-linked and cleanly indexed, become a body of work that turns into citations, invitations, grants, and hires year over year. The compounding is real and it is slow. Starting now matters more than starting perfect.
The third is that you control the story. Google Scholar gives you a citation count. LinkedIn gives you a professional headline. Your lab page gives you whatever your PI decided to write about you in 2019. Your personal site is the one artifact where you decide what your research is about and why it matters.
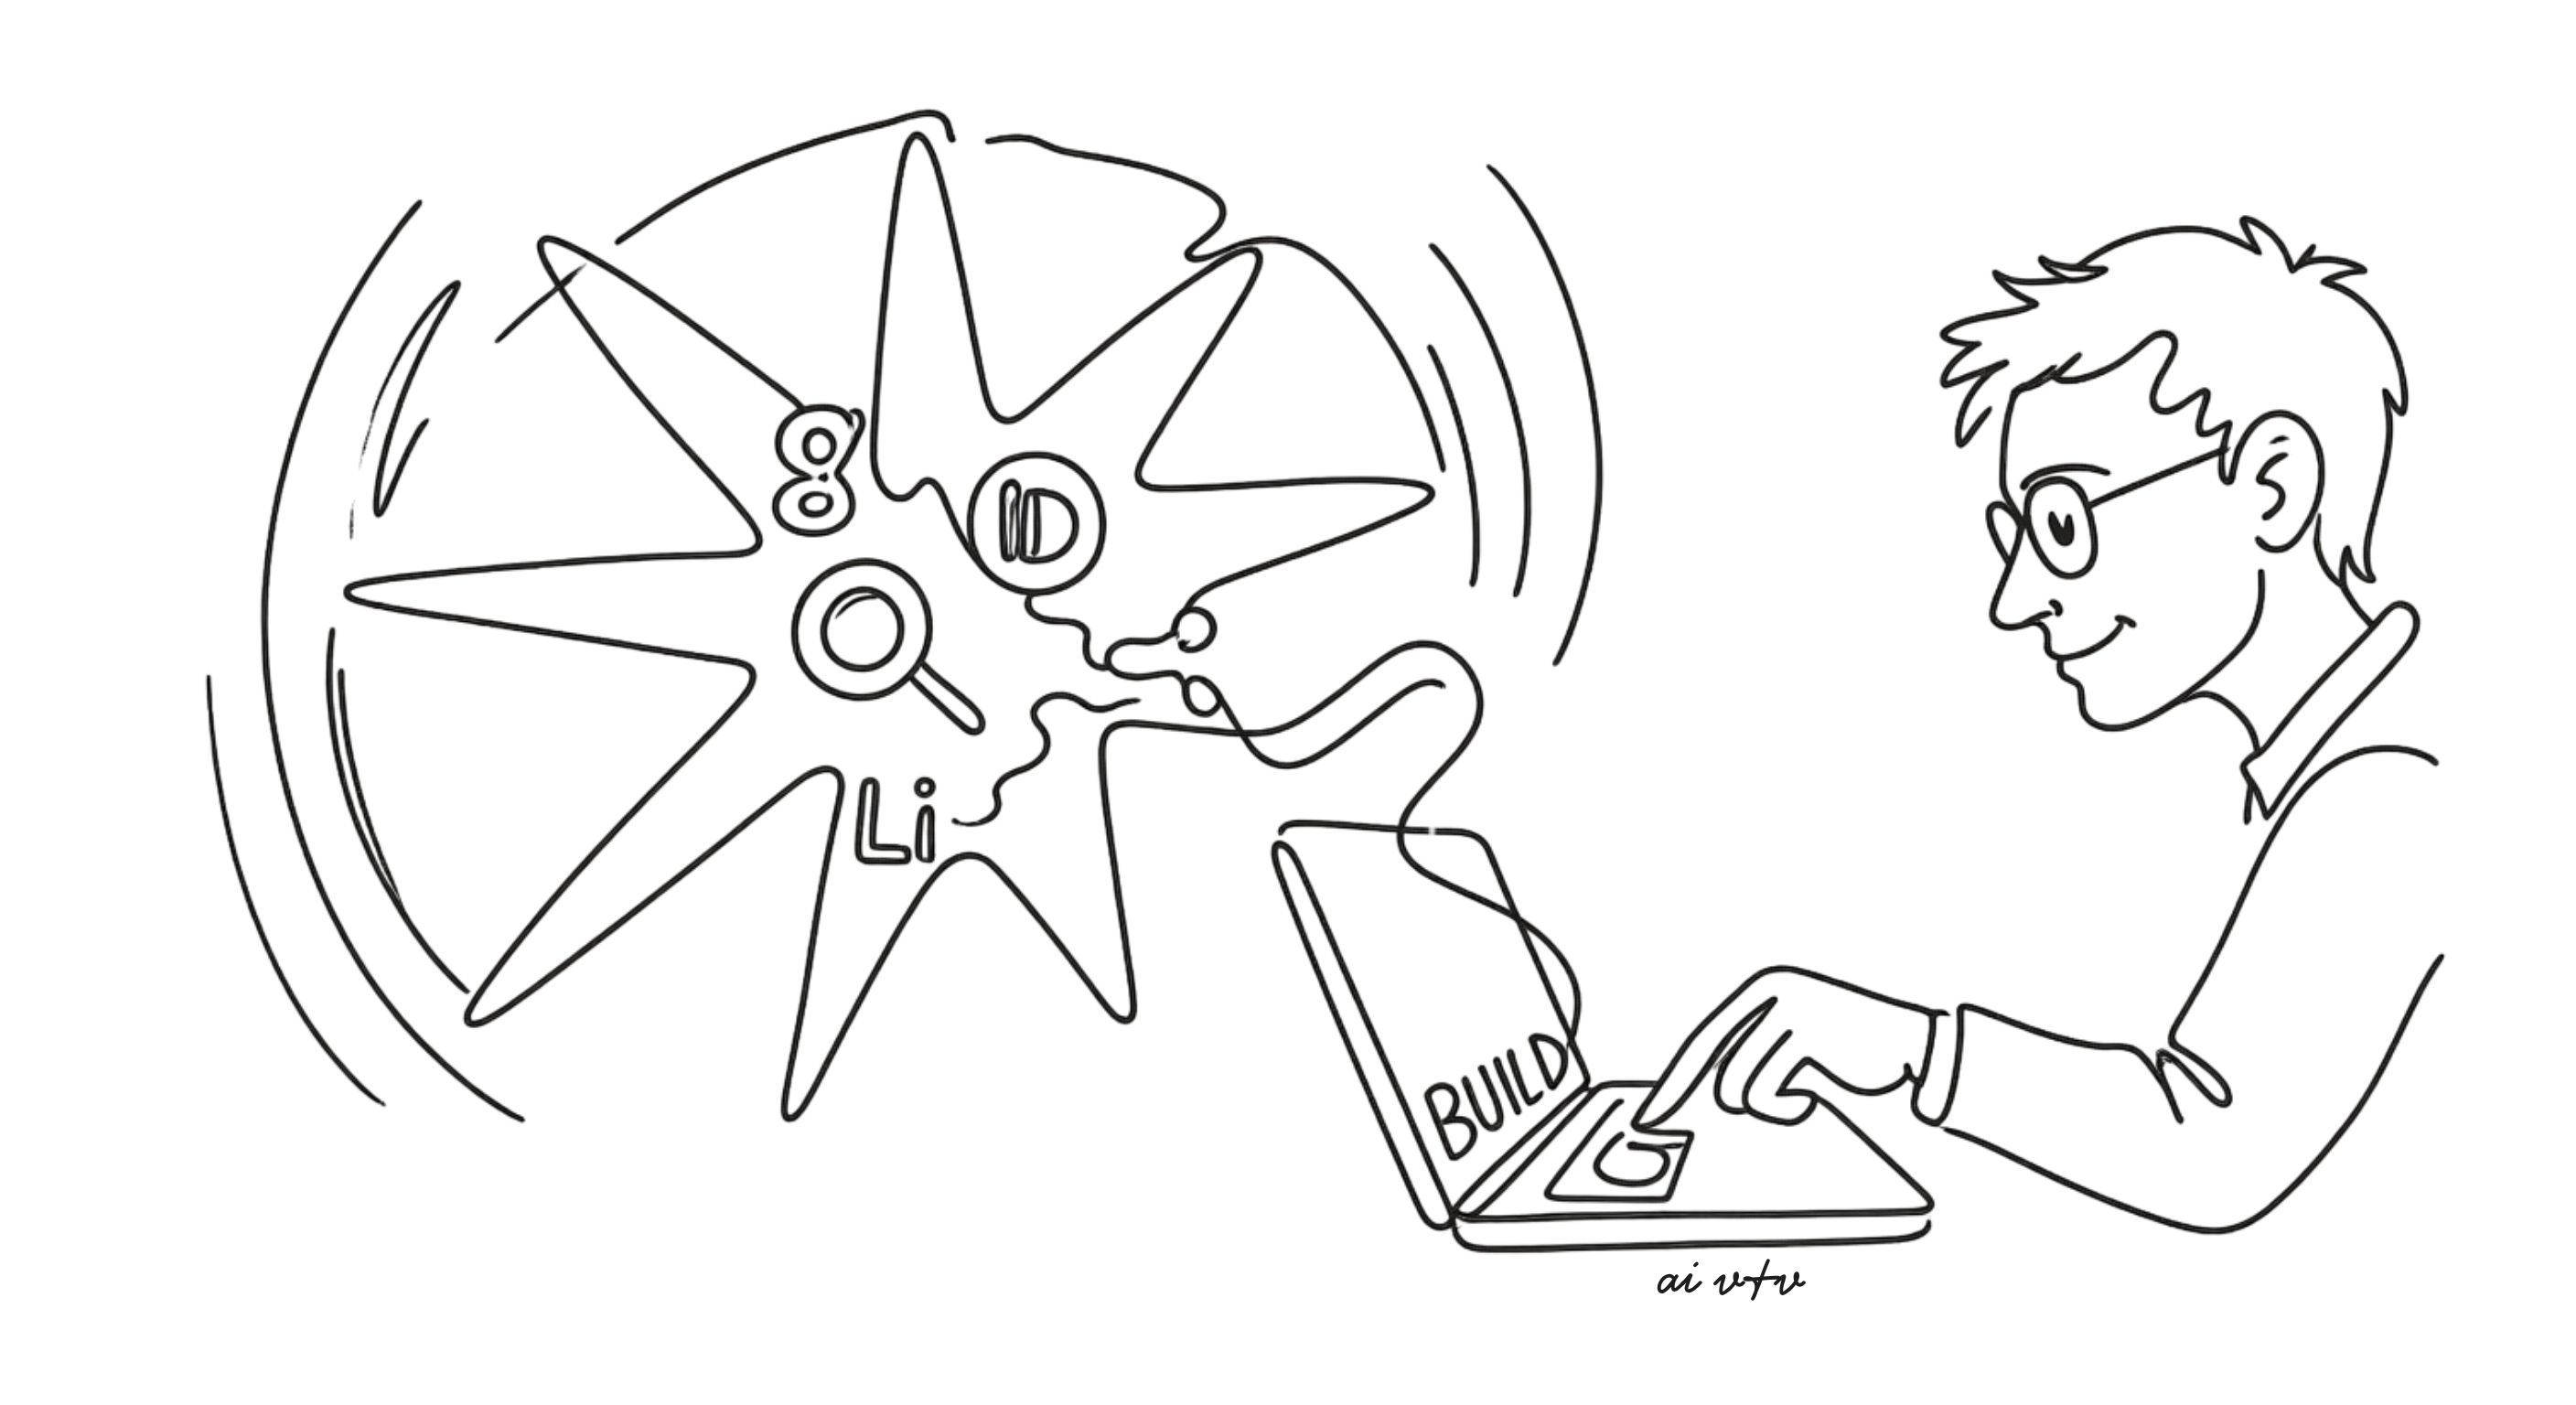
We talked about how academic presence can be broken into three pillars: publishing (your credibility currency), identity (the profiles people search for), and expertise (talks, tools, and datasets that make your work usable). A personal site sits at the center of all three.
Think of it as the hub that connects your Google Scholar, ORCID, LinkedIn, GitHub, papers, talks, and email signature. Each of those is a spoke. They all point back to the site, and the site points out to all of them. A visitor lands on any spoke and gets to the hub in one click.
The platforms I consider non-negotiable for academics in 2026 are Google Scholar (the profile people actually open), ORCID (your permanent author ID, required by most journals and funders), and LinkedIn (where non-academics find you for industry collaboration, invited talks, and visa letters). Helpful but optional are DBLP (auto-indexed, gold standard for CS and ISE), Semantic Scholar, and your arXiv author page. The key principle across all of them is one name, one photo, one bio, everywhere. Variations make you look like different people to a search engine, and they look sloppy to a human.
Why Jekyll and GitHub Pages
I have watched friends pay for Wix or Squarespace for three years, forget the password, let the subscription lapse, and lose the whole site. I have watched others run WordPress on a university server that got decommissioned when they moved institutions. The 10-year test is simple. Will this site still work in 10 years with zero maintenance from me? For WordPress the answer is no, because plugin updates will have broken it. For Wix or Squarespace the answer is no, because the subscription will have lapsed. For Jekyll on GitHub Pages the answer is yes. The site is a folder of text files, hosted for free by GitHub, with no database, no login, and no server to patch.
The template we will use is ai-vnv/personal-website-template, which is a version of Beautiful Jekyll tuned for academic use. It gives you a homepage, about page, contact page, blog, and space for publications, projects, and teaching. Everything is already styled. You only change the content.
Before you start, a short checklist
Make sure you have these four things ready. Each takes a few minutes.
- A GitHub account at a username you are comfortable being public for the next decade.
mansurariefis fine.crypto_ninja_99will be awkward to put on your CV. If you do not have one, sign up at github.com first. - Git installed on your computer. On macOS, open Terminal and type
git --version. If it prompts to install developer tools, accept. On Windows, download Git for Windows, which gives you a program called Git Bash. On Linux,sudo apt install gitor your distro’s equivalent. - A text editor. VS Code is free and works everywhere. If you already have a favorite, use that.
- A square headshot, around 400 by 400 pixels, saved somewhere you can find it.
Once you have those, the next 25 minutes are a straight line.
Step 1, tell Git who you are
Open your terminal (Git Bash on Windows, Terminal on macOS or Linux) and type these two commands, one at a time, replacing the quoted values with your own.
git config --global user.name "Your Full Name"
git config --global user.email "you@example.com"
Use the same email as your GitHub account. This links every commit you make on your laptop to your GitHub identity. Verify it worked:
git config --global --list
You should see your name and email printed back.
Step 2, fork the template
Open github.com/ai-vnv/personal-website-template in your browser and click the Fork button near the top right. On the fork page:
- Owner: your own GitHub account.
- Repository name: change to
yourusername.github.io, using your actual GitHub username. The naming convention is strict. A repo namedmansurarief.github.ioowned by usermansurariefautomatically becomes a site at that same URL. Any other name will not. - Copy the main branch only: leave checked.
- Click Create fork.
A fork is your own copy of someone else’s repository. It keeps a link back to the original, but everything inside is yours to change.
Step 3, turn on GitHub Actions for the build
The template builds itself using GitHub Actions on every push. You flip this on once.
In your new repo on GitHub, click Settings, then Pages in the left sidebar. Under Build and deployment, set Source to GitHub Actions. That is the only setting you need. The template includes a workflow file that does the rest.
Click the Actions tab. You should see a build already running or finished. Once it shows a green check, your site is live at https://yourusername.github.io.
Step 4, download your fork to your computer
Open your terminal and move to your Desktop:
cd ~/Desktop
On Windows Git Bash, ~ still works and points to your user folder.
Clone your fork (replace yourusername with your actual username):
git clone https://github.com/yourusername/yourusername.github.io.git
The first time you do this, GitHub will ask you to authenticate. A browser window opens for sign-in, and after that it remembers you. Move into the new folder:
cd yourusername.github.io
Open the folder in VS Code. On macOS and Linux you can type code . directly. On Windows, File → Open Folder in VS Code and point it at the folder on your Desktop.
Step 5, set your name and social links
Open _config.yml. Near the top:
title: "Your Name"
author: "Your Name"
Change both to your actual name. title appears in the browser tab and site header. author appears in the footer.
Scroll down to the social-network-links section. Every line starts with #, which means it is commented out. Remove the # from each line you want active and fill in your details:
social-network-links:
  email: "you@example.com"
  github: yourusername
  linkedin: yourusername
#  twitter: yourhandle          ← leave commented if you don't use it
  google-scholar: "citations?user=YOUR_SCHOLAR_ID"
  orcid: "0000-0000-0000-0000"
A warning. Indentation in YAML has to be spaces, not tabs. If your build fails after this step with a YAML error, the culprit is almost always a tab that snuck in.
The networks you can uncomment include email, github, twitter, linkedin, instagram, google-scholar, orcid, youtube, medium, and a few others. To find your Google Scholar ID, open your Scholar profile and copy the part of the URL after user=.
Save the file.
Step 6, edit the homepage, about, and contact
These three pages are where your voice lives. Spend a real ten minutes on each.
Open index.html. The top is a YAML front matter block, followed by your homepage content:
---
layout: home
title: Your Name
subtitle: Your one-line identity
---

Hi, I am [Your Name]. Write two or three sentences about what you
work on. Include one specific thing you are excited about right now.
Say less than you think.
Despite the .html extension, you write the content in Markdown. The template handles the conversion.
Open about.html and replace the placeholder with a longer bio:
---
layout: page
title: About
subtitle: A little about me
---

I am a [role] at [institution] working on [one sentence on research].
My background is [one sentence]. I am currently [one sentence on
what you are doing right now, a paper or a project or a move].

Feel free to reach out if you are interested in [topics you want
people to contact you about].
Open contact.html and replace the placeholder values with your own email, GitHub, and LinkedIn. The template file already has the layout. You are only changing the values.
Step 7, add your photo
Copy your headshot into assets/img/ and save it as profile.jpg (or .png, as long as the extension matches what you put in the config). A square image around 400 by 400 pixels works best.
In _config.yml, find these two commented lines near the top:
# avatar: "/assets/img/avatar-icon.png"
# round-avatar: true
Uncomment both and point avatar to your file:
avatar: "/assets/img/profile.jpg"
round-avatar: true
round-avatar: true crops the photo into a circle. Set it to false for a square. Use the same photo across Google Scholar, LinkedIn, and ORCID. A consistent photo is the single cheapest way to make your profile feel intentional.
Step 8, add a publications page
This is the one that pays off. Create a new file publications.md in the root of the folder. Here is a minimal version:
---
layout: page
title: Publications
---

### 2025

- **Your paper title**, *Venue, Year*.
  [PDF](link) · [Code](link) · [Slides](link)
  Your Name, Coauthor Name.

### 2024

- **Earlier paper**, *Venue, Year*.
  [PDF](link)
  Your Name.
Then add it to the navigation bar. In _config.yml, find navbar-links:
navbar-links:
  Home: "index"
  About: "about"
  Publications: "publications"    # add this line
  Contact: "contact"
The label on the left shows in the navbar. The value on the right matches the filename publications.md without the extension.
A practical suggestion. Link the PDF of every paper you can legally share. Most publishers allow the author-accepted manuscript on your personal site. People cite what they can read. If the PDF is behind a paywall, your citation count is limited to people with institutional access.
Step 9, write your first blog post
Blog posts live in _posts/. The filename must match the pattern YYYY-MM-DD-title.md. So for today, that would be 2026-04-18-first-post.md.
---
layout: post
title: Setting up this website
subtitle: What I learned along the way
tags: [meta, tutorial]
---

Write your post in Markdown. Use ## for section headings,
**bold**, *italic*, and [links](https://example.com).
The template ships with one example post. Delete it once you have added your own.
You do not have to blog consistently. But having the infrastructure in place means the day you finish a paper, or return from a conference, or realize you have something worth saying, there is no friction between the thought and publishing it.
Step 10, publish
Save every file you changed. Back in your terminal, from inside the repo folder:
git add .
git commit -m "Customize site with my info"
git push
git add . stages every changed file. git commit saves a snapshot with a message so you remember later what you changed. git push uploads the snapshot to GitHub.
Wait about a minute, then visit https://yourusername.github.io. You should see your site with your name, photo, bio, and publications. If the old template page still shows, hard-refresh your browser with Ctrl+Shift+R on Windows and Linux, or Cmd+Shift+R on macOS. If the site is not there at all, open the Actions tab on GitHub. The failed run names the file and line that caused the problem. Read it. The answer is almost always a stray tab in a YAML file.
The editing loop from here on
Every future change follows the same three commands. Edit a file in VS Code and save. Then:
git add .
git commit -m "short description of what changed"
git push
Refresh your browser a minute later. The new version is live. That is the whole workflow. A new paper is three lines added to publications.md, a commit, and a push. A conference update is a blog post, a commit, and a push.
This is an afternoon of work, but it compounds for the rest of your career. A year from now, when someone is deciding whether to invite you to review, to speak, to collaborate, or to hire, they will search for you and they will find a coherent profile that makes their decision easier. That is the whole game. For a more detailed step-by-step walkthrough, check out the tutorial slides (PDF). Good luck!